Removing swirl marks at home: what works and what does not
Swirl marks are one of the most common complaints from vehicle owners in North Houston, and they are also one of the most misunderstood. They show up most obviously on darker paint in direct sunlight — a web of fine circular scratches that seem to appear out of nowhere. Most of the time they come from automatic tunnel washes, dirty wash mitts, dry wiping with a microfiber that has been sitting on a shop shelf, or even well-intentioned buffing with a gas station chamois. Understanding what they actually are helps you decide how aggressively they need to be addressed.
Swirl marks are shallow abrasions in the clear coat layer. They do not go through to the base coat, which means they are theoretically repairable. The question is how deep they sit within the clear coat and how much material remains available for correction. On a car that has been washed correctly and protected since new, you have room to work. On a five-year-old daily driver that has been through hundreds of tunnel washes, the clear coat may be thin enough that any serious correction needs to happen in a controlled environment with a paint thickness gauge before anything abrasive touches the surface.
What DIY correction can realistically accomplish
If the swirling is light — the kind that catches sunlight at a certain angle but is not deeply etched — a dual-action random orbital polisher with a finishing polish and a soft foam pad can make a meaningful difference. Dual-action machines are the correct tool for this application because they are far less likely than a rotary to burn through clear coat if you lose concentration or let the pad sit in one spot. Rotary polishers in inexperienced hands remove material unevenly and can create flat spots or holograms that are worse than the original swirls.
The polish itself matters. A light finishing polish — sometimes labeled as a fine polish or diminishing abrasive compound — removes minimal material while leveling shallow surface texture. It is not designed for deeper scratches, orange peel, or contamination. If you reach for a cutting compound to address what you thought were simple swirls, you are removing significantly more clear coat per pass, and mistakes become harder to recover from. Start light, evaluate the result under a proper light source, and escalate only if needed.
The limits of hand application
Some owners prefer to apply polish by hand with a foam applicator pad. Hand correction works for isolated spots — a small area of swirling on a door panel from a particular incident — but it does not produce even results across a full panel. Human arm pressure is inconsistent. You will work one area harder than another without realizing it, and the finished surface will show it under certain lighting. Machine polishing, even with a beginner-grade dual-action unit, produces more consistent results across larger areas.
Hand application also generates less heat and less working action, which means the abrasives in the polish do not break down as efficiently. You end up using more product and more time to achieve less correction. For anything beyond a spot touch-up, invest in a machine or accept the limitations of the result.
When DIY is the wrong call
There are situations where attempting correction at home will make things worse. If the paint has visible scratches that catch a fingernail when you drag it across the surface, they are too deep for a finishing polish and almost certainly too deep for a dual-action machine to fully remove without cutting into the clear coat aggressively. At that point, the choice is between professional paint correction with the proper compounds, pads, and lighting, or leaving the scratch in place.
Wet paint, paint with thin clear coat, single-stage paint on older vehicles, and matte or satin finishes all require different approaches than standard glossy clear coat. Matte and satin finishes cannot be machine polished at all without altering the surface texture permanently. If your vehicle has a factory matte finish or a matte wrap, do not apply any conventional polish to it regardless of how light the product claims to be.
Another scenario where home correction is inappropriate: when the vehicle is going to receive a ceramic coating afterward. A coating bonds to whatever surface exists beneath it. If you polish unevenly and leave high and low spots in the clear coat, the coating will lock in that inconsistency. Professional detailing studios use inspection lights that reveal surface issues invisible in ambient light, and they correct to a standard the coating manufacturer expects before application. If you are planning to protect your investment with a ceramic coating, get the paint correction done professionally first.
Products worth using and products worth skipping
On the product side, a few categories matter. A proper iron decontamination spray and a clay bar or clay mitt should come before any polishing step. Contamination embedded in the clear coat — iron particles from brake dust, industrial fallout, road tar — cannot be polished away and will cause the polishing pad to drag across the surface unevenly. Decontamination takes twenty minutes and is non-negotiable if the car has not had it done in the past year.
For the polish itself, brands like Menzerna, Koch-Chemie, and CarPro offer well-documented finishing polishes that are available to consumers without professional accounts. Avoid all-in-one wax-polish products if your goal is actual correction rather than temporary gloss enhancement. The wax filler in those products masks swirls temporarily rather than removing them, and the finish degrades as the wax wears off.
Afterward, a spray sealant or quality carnauba wax will protect the corrected surface and add some gloss depth, but neither provides the durability or chemical resistance of a professional ceramic coating. Expect three to six months of protection from a consumer-grade sealant under North Houston driving and washing conditions.
Preventing swirls from coming back
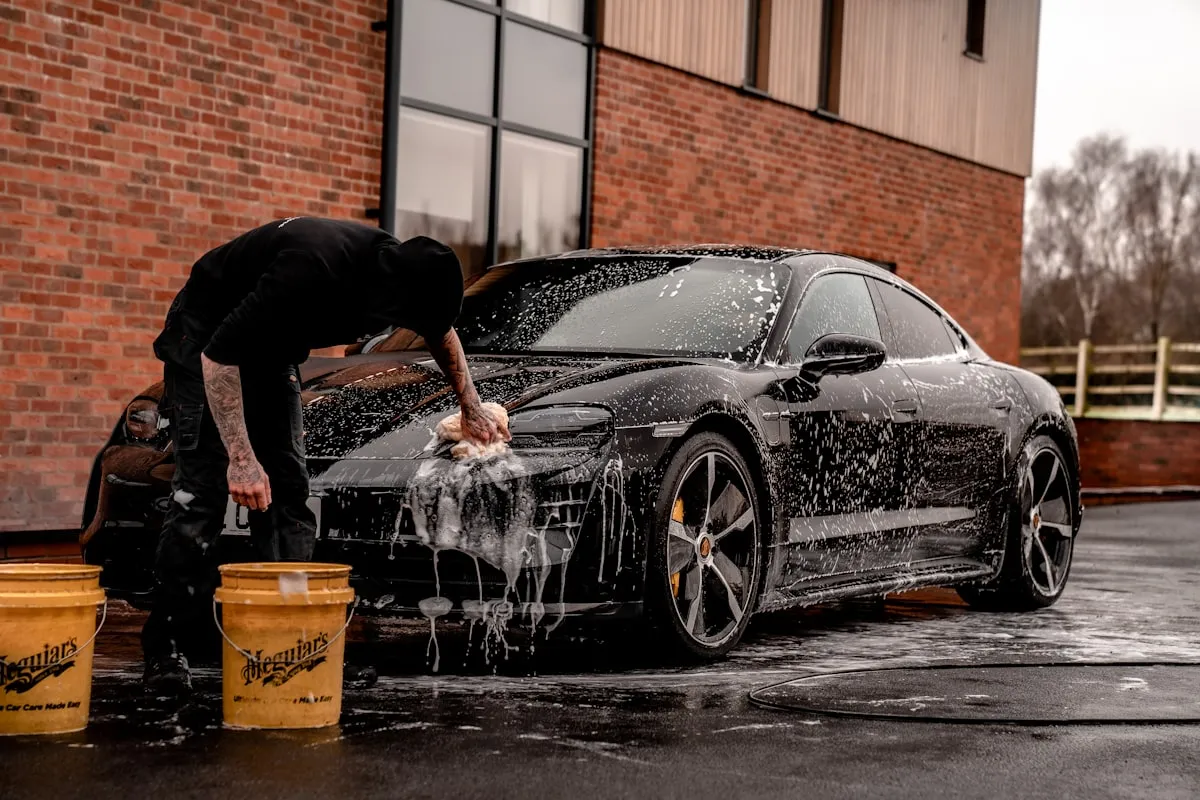
Correction without changing wash habits is a temporary fix. The two-bucket wash method — one bucket for clean soapy water, one bucket with a grit guard for rinsing the mitt — removes the main source of contact scratching during hand washing. A foam cannon pre-soak further loosens surface contamination before the mitt ever touches the paint, which means less mechanical friction and fewer introduced scratches. Drying with a clean, high-quality microfiber waffle-weave towel rather than a chamois or terry cloth also makes a difference.
Automatic tunnel washes are the single largest contributor to swirl marks for most daily drivers. The brushes and cloth strips in those machines accumulate grit from every car that passes through them. If you cannot hand wash regularly, a touchless tunnel wash is a better option than a brush-based one, even though it cleans less thoroughly.
Understanding when to hand the car over
If you have worked over a panel with a dual-action polisher and the swirls are still clearly visible, the defects are deeper than a finishing polish can address. At that point you are either moving to a more aggressive compound — with the associated risk of clear coat removal — or you are calling a professional. EuroLuxe Detailing in Tomball handles everything from single-stage enhancement polishes to full multi-step corrections on vehicles with seriously compromised clear coat. If you want an honest assessment of what your paint needs before spending money on products or services, call (936) 292-6056 and describe what you are seeing.
DIY correction has a legitimate place in vehicle care, but it requires the right tools, realistic expectations, and an accurate read of how much damage is actually present. Knowing when to stop is as important as knowing how to start.